To learn how to use your Wastecorp water trailer, let’s begin with the basics to get an understanding of how your water trailer operates.
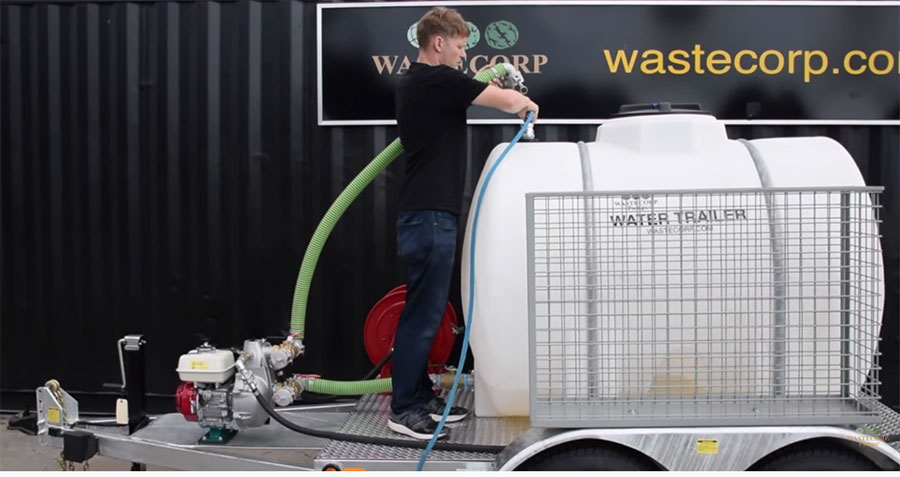
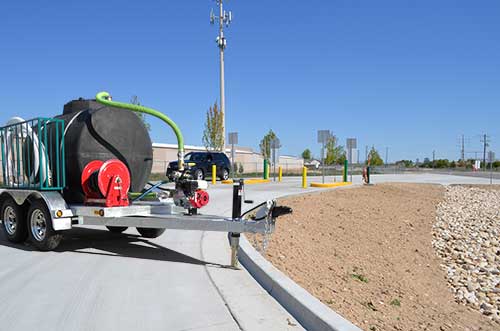
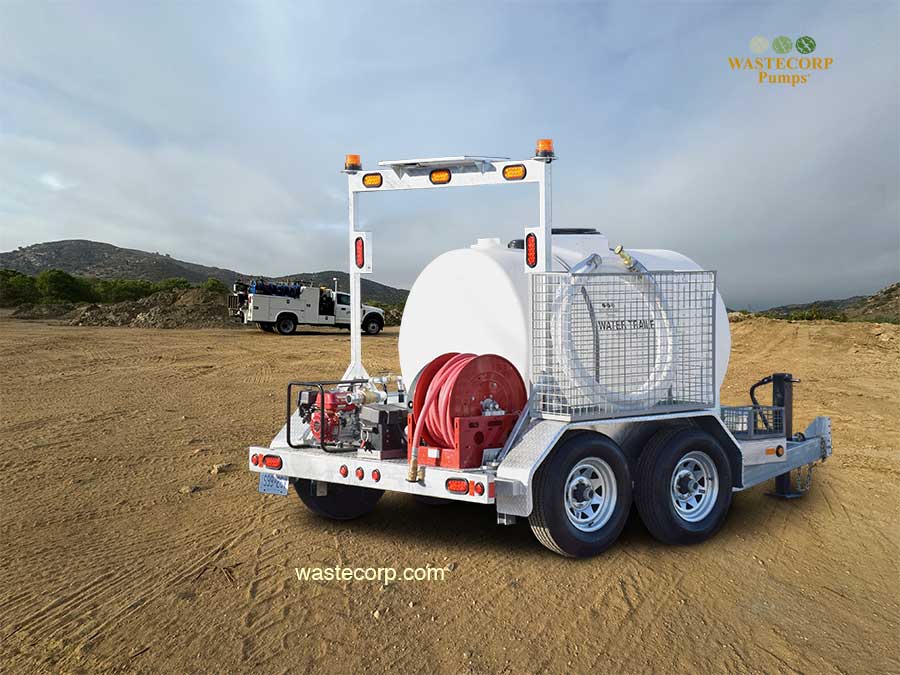
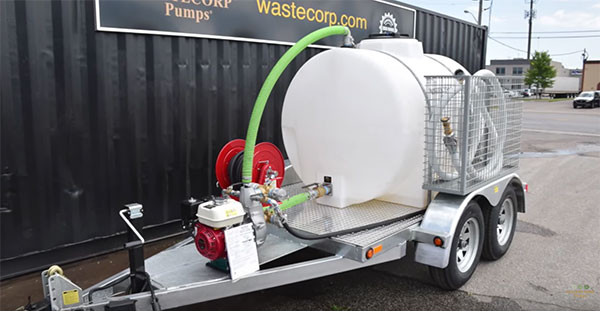
Your water trailer is mounted on a galvanized trailer for corrosion protection with a diamond plate deck. Your system includes LED lights, hose bin, suction and discharge hoses, high pressure water delivery system and brass valves
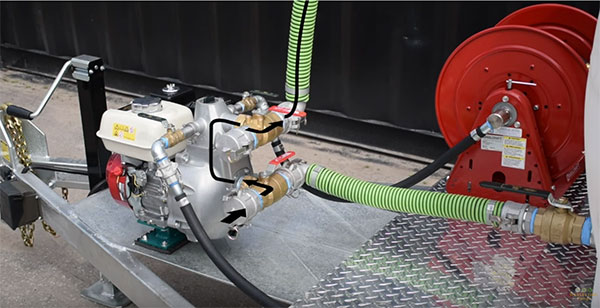
This diagram shows how water flows through the valves and pump. You can see that when discharging the pump, the upper valve is used. When filling the tank from a reservoir, pond or fire hydrant the lower valve is used. Remember that the dust caps should be removed when using the valve and secured back into place when not in service. Use caution when removing the dust cap as trace amounts of water will flow out from either the suction or discharge valve when opened
Filling the tank
Filling the tank depends on where your water source is coming from. You can use a suction hose and the pump to fill the tank with the lower valve open or you can fill through the top access hatch at the top of your tank when using a fire hydrant
You can also use a garden hose to fill the tank through the front loading port or the access hatch. Just remember to secure the lid of the access hatch when finished working in this area.
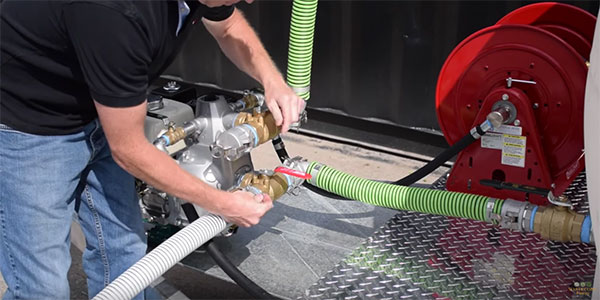
Pumping into the water trailer tank through the lower valve is the quickest way to fill your tank. First remove the dust cap and pins from the valve and set them on the deck. You can now connect the non collapsible hose to the valve. Remember to place the pins into the coupling for a secure seal. Next set the main tank valve to the nine o’clock position. Set the suction valve to the nine o’clock position and set the discharge valve to the closed or twelve o’clock position. Start the engine and you are ready to pump into the tank from a pond, reservoir or fire hydrant. There are volume markers at the rear of the tank to show you how much water is in the tank.
Discharging the tank
To empty your water trailer tank or use the non-collapsible discharge hose for water delivery, the top valve is what delivers water to the hose. First, remove the dust cap and two pins on the top suction valve. Place the dust cap and pins on the deck. Next connect the hose to the discharge valve and secure the camlocks and pins. The main tank valve should be in the six o’clock position. The lower suction valve should be in the closed or 12:00 position and the upper discharge valve should be in the nine o’clock position. Start your engine and you are ready to discharge from the tank.
Be sure to use two hands when handling the hose as the discharge pressure is powerful. The discharge nozzle can be adjusted to constant flow, spray pattern or off position.
Discharge Using Retractable Hose
To use your retractable hose, hose reel and garden spray nozzle, set the main tank valve to the six o’clock position. Set the lower suction valve to the closed or 12:00 position , set the upper suction valve to the nine o’clock position and set the hose reel valve to the nine-o’clock position. Start the engine and wait a few moments as the pump primes. Begin spraying .
Using The Rear Sprayers To use your rear spray nozzles set the main tank valve to the six o’clock position. Set the lower suction valve to the closed or 12:00 position. Set the upper discharge valve to the nine oclock position and set the rear sprayer valve on the pump to the three o’clock position. Start the engine. Wait a few moments

